IPv6 from Space (An intro to IPv6 with Starlink)
|
by Craig Miller
In a previous article, I have been bemoaning broken ISPs, which have IPv6 problems. Clearly these ISPs don't monitor their IPv6 service, since it can be down for weeks at a time. But hey, IPv4 works, so no problem, right?
In this search for an ISP who not only offers IPv6, but also monitors it, and makes it easy to use, I ordered Starlink. I don't live in the rural areas of Canada (of much of the country is rural), and there are some caveats about using Starlink in urban areas (which I'll cover later).
But let me summarize by saying Starlink is not only easy to setup, but a well thought out product that delivers IPv6 to your home, or just about anywhere you set up the Starlink Kit.
What's in the box
I wasn't sure I was going to keep the service, so I ordered a rental unit to just give it a try. It cost me $20 CAD for shipping. The $75 CAD ($55 USD) monthly fee doesn't get charged until you activate the system or two months from ordering the starter kit.
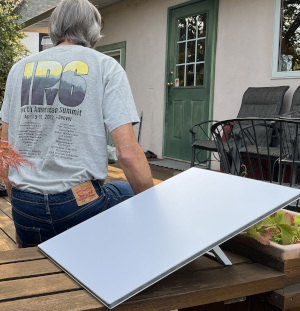
The box includes the dish (looks more like a panel), power supply, a small router, and some cables. The 195 watt power supply provides Power over Ethernet (PoE) to both the dish and small router. I believe the power supply supports UPoE+ (90 watts per port) given the rating of 195 watts total for the power supply. The power supply also has a two port bridge to provide a data connection between the dish and the small router.
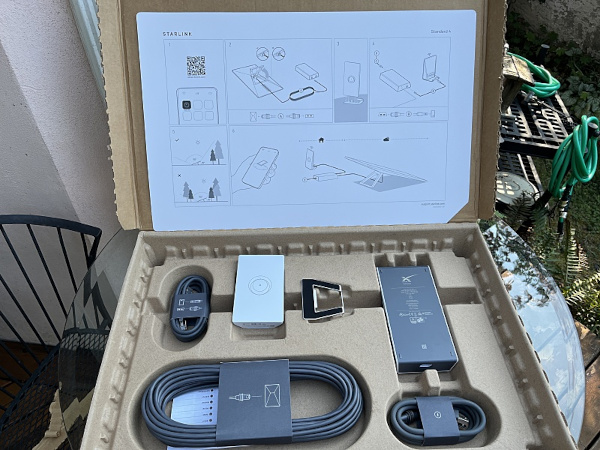
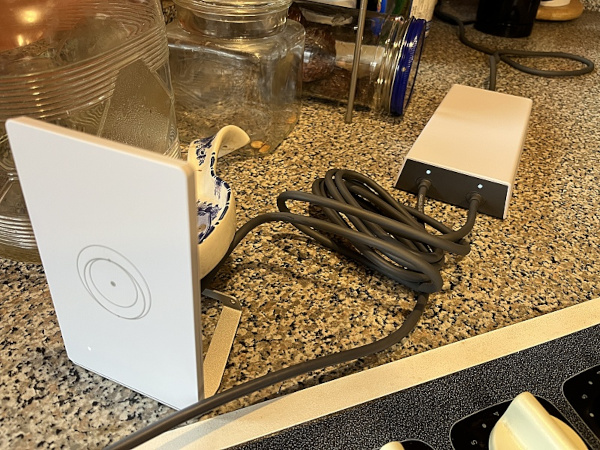
The small router has a power light, and that's it. It is managed via an App on your phone (Android & iPhone supported). I am not a big fan of having to use phone Apps to configure/monitor things, but I can understand the attraction to vendors.
The cables are nice high quality very flexible material. And it is not possible to connect things up incorrectly. Follow the simple instructions, it doesn't matter which port powers the dish on the power supply, it doesn't matter which way you plug in the AC cord (it isn't polarized). It doesn't matter which port on the router is used (there are two). It all just works.
Plugging it all together
Once the dish is plugged into the power supply, the router plugged into the power supply, connect your phone to the router's Wifi, and startup the Starlink App.
Assuming your used the Site Survey option of the App (which is quite cool), and have placed the dish in a spot that has a good view of the sky, you should be Online
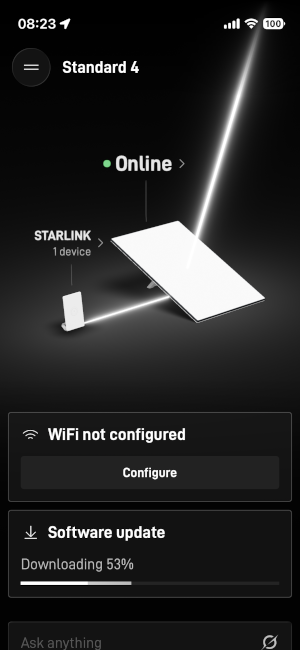
Using the Starlink App
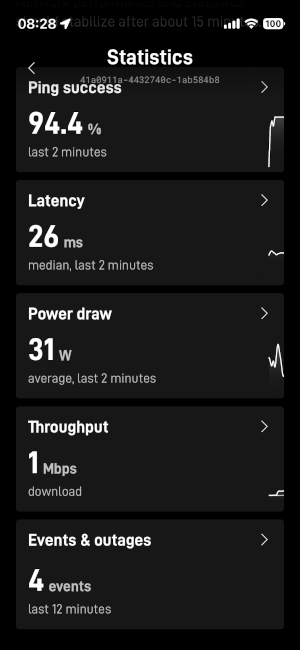
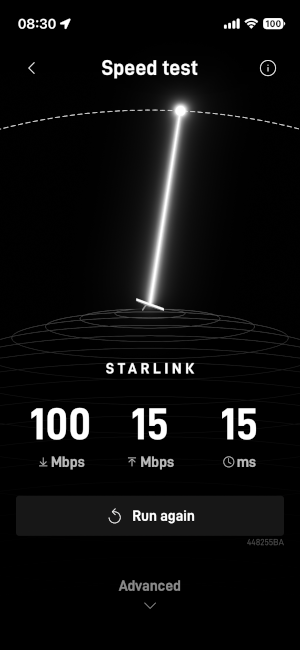
The Starlink App not only shows that you are online, but also some basic statistics of the system, and even a speed test!
Since I am only paying for the basic residential, I only have 100Mbit downlink speed. Although the app shows a relatively slow uplink speed, in other testing I have seen it has high as 80 Mbit
Using OpenWrt with Starlink
Connecting you own router to Starlink couldn't be easier. Unplug the Starlink router from the power supply, and connect yours to the open Ethernet port, done. In my case, I used one of my portable GL-Inet routers running OpenWrt.
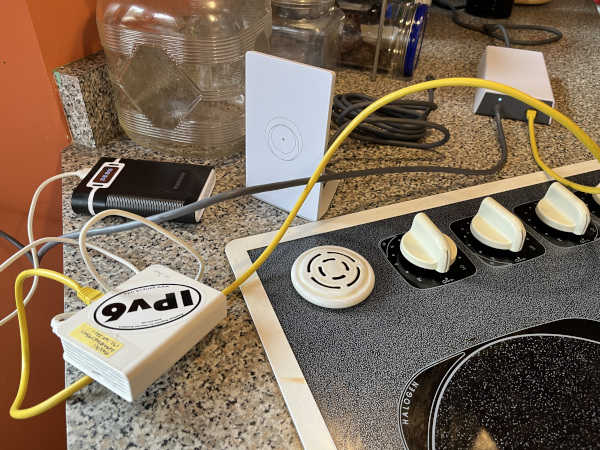
As you can see I just plugged in a yellow Ethernet cable into the power supply, and the other end goes to the WAN connection of my router. This router is not PoE enabled, so it just ignores the voltage on the wires. I am powering the portable router with a USB power battery pack.
The default configuration of OpenWrt has excellent IPv6 support, including sane firewall rules for IPv6.
Getting a /56
Getting a /56 was easy. I had previously setup the router to request a /56 (via DHCPv6-PD), and Starlink just served up one. I now had 256 IPv6 subnets available from Space. The IPv6 address assigned was a Global Unique Address (GUA) using Starlink's 2605:59C8:200::/40 address block.
IPv4 using CGNAT
Starlink is using Carrier Grade Network Address Translation (CGNAT) for IPv4 access. They are using the 100.120.142.158/10 address for my connection. Because the Private IPv4 address space has pretty much been used up, the IETF created a new standard with address space reserved for Carriers, RFC 6598 100.64.0.0/10.
Downside of using your own router
The downside of using your own router, is that the Starlink App will not connect and show those nice screens such as Alignment, Speed Test, and Statistics. I think this may be for two reasons:
- The App doesn't have an IP address to talk to the dish
- I believe the Starlink router provides an IP end point where by software updates can be downloaded, and through an unknown protocol (to me) are pushing the updates to the dish
Going Forward
My current ISP has me shackled in retainment-handcuffs. I will have to pay several hundred dollars to terminate my contract early. Fortunately, Starlink has a Pause feature which reduces the monthly fee to $5. Interestingly enough, the Pause is more like slow, as it still gives 0.5 Mbit/sec service.
My plan is to run out the clock on my current (sometimes broken) ISP while keeping Starlink in Pause. Once the handcuffs are off, I'll move to Starlink full time. It will be a pleasure having and ISP that knows how to spell I-P-v-6.
Notes:
- IPv6 from Space graphic by me.
- Interesting Technical Videos about Starlink
29 August 2026