Linux: Hacking xscreensaver

|
By Craig Miller
Xscreensaver has been the screensaver of choice for Linux since 1992, and has been ported to other operating systems: iOS, Android, and MacOS. Although other Desktop systems, such as KDE or Gnome have developed their own screensavers, almost all distros include xscreensaver.
One of the features that makes xscreensaver to appealing is the myriad of screensavers that can be run. With over 200 screensavers to choose from, Abstractile to Xspriograph, one of my favourites has been GLSlideshow which displays random photos from a directory of photos. This turns your computer into a large photo-frame.
For years I have run GLSlideshow on a living room computer, drawing from over 50,000+ digital photos taken over the decades. And for many of those years, xscreensaver would print the full path (title) of the photo in the upper left hand corner, helping us identify the photo, and the year that it was taken.
xscreensaver Release 6.02
Recently, my distro, artix, updated xscreensaver in the repo from a 4.x version to the latest release 6.02. The good news is that the upgrade went smoothly. The bad news is that the show file name had been reduced to just the file name, the full path was no longer displayed.
Now I could still enjoy the random photos, but when was that photo taken?

Open source means you can tweak the code
The beauty of open source is that you can pull down the source code, and see what is really happening. xscreensaver for linux can be downloaded from here, as a tar.gz file.
Un-tar the tarball, and start looking at the code.
Finding a needle in the haystack
Of course there can be a lot of source code in an open source project, and it is organized in a way that makes sense to the author, not necessarily to the casual hacker.
The first step is to find the file that might be interesting
$ find . | grep slideshow
./hacks/glx/glslideshow.c
./hacks/glx/glslideshow.man
./hacks/glx/glslideshow
./hacks/config/glslideshow.xml
Since we are looking for source code, we can eliminate man pages, and XML files.
What does xscreensaver call those file names?
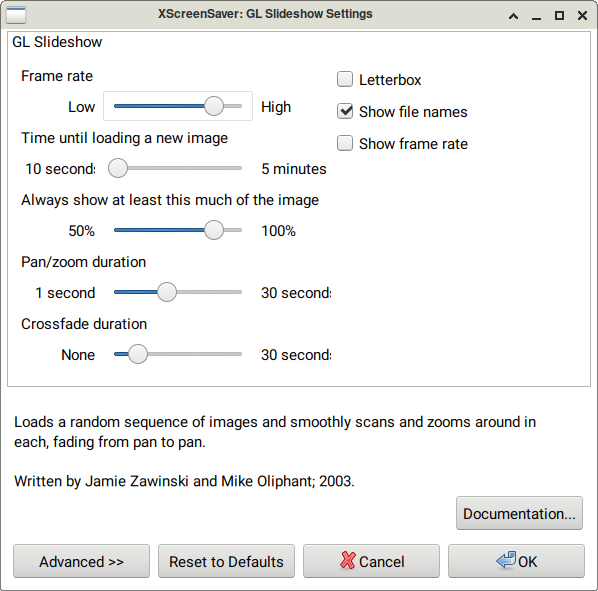
Knowing how the program runs and where to zero in is helpful. Looking at the xscreensaver-settings for glslideshow, the checkbox for show file names can be seen.

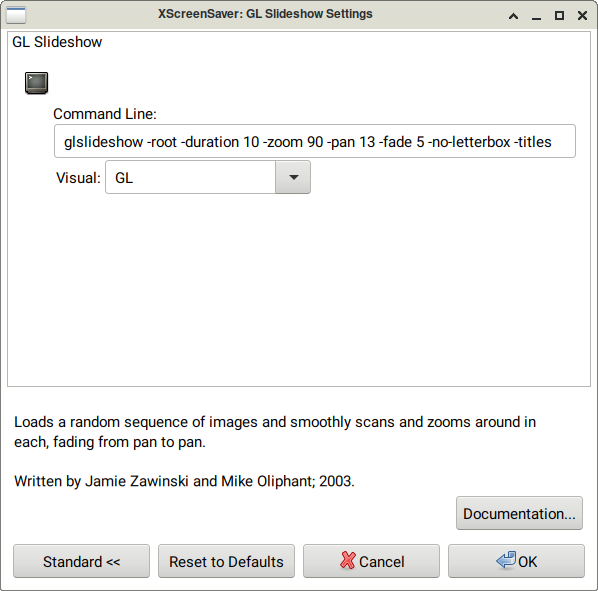
Fortunately, this also has an Advanced >> button to see what the actual CLI parameter is to enable the "show file name"

Got it, titles
The feature of GLSlideshow that enables showing the file name is called -title. grep is your friend. Looking for the -title option in ./hacks/glx/glslideshow.c shows paydirt.
$ grep -- "title" ./hacks/glx/glslideshow.c
                  "*titleFont: sans-serif 18\n" \
  char *title;                     /* the filename of this image */
static Bool do_titles;      /* Display image titles. */
  {"-titles",       ".titles",        XrmoptionNoArg, "True"  },
  { &do_titles,     "titles",       "Titles",       DEF_TITLES,        t_Bool},
  img->title = (filename ? strdup (filename) : 0);
  if (img->title && img->title[0] == '/')
     // char *s = strrchr (img->title, '/');
      //if (s) strcpy (img->title, s+1);
             blurb(), img->id, (img->title ? img->title : "(null)"));
             blurb(), img->id, (img->title ? img->title : "(null)"));
  if (img->title) free (img->title);
                 (sp->img->title ? sp->img->title : "[null]"));
    if (do_titles &&
        img->title && *img->title &&
                             1, img->title);
  ss->font_data = load_texture_font (mi->dpy, "titleFont");
Look at the source
Now it is time to open glslideshow.c in an editor and search for where -title is used, and how it puts up the name in the photo. Fortunately that author has put in many helpful comments:
  /* xscreensaver-getimage returns paths relative to the image directory
     now, so leave the sub-directory part in.  Unless it's an absolute path.
  */
  if (img->title && img->title[0] == '/')
    {
      /* strip filename to part between last "/" and end. */
      /* xscreensaver-getimage has already stripped off the extension. */
      char *s = strrchr (img->title, '/');
      if (s) strcpy (img->title, s+1);
    }
Edit the source
The comment strip filename to part between last "/" and end. leads us to the actual code that strips off the full path of the file name. By commenting out the path stripping code, the full path will be retained, and therefore displayed.
Using the editor, comment out a couple of lines, save, and recompile.
  if (img->title && img->title[0] == '/')
    {
      /* strip filename to part between last "/" and end. */
      /* xscreensaver-getimage has already stripped off the extension. */
     // char *s = strrchr (img->title, '/');
     //if (s) strcpy (img->title, s+1);
    }
Trying out the modified code
Before trying out your newly hacked code, you have to find where the compiled binary was placed. find can be your friend.
$ find . -type f -name "xscreensaver"
./driver/xscreensaver
The actual file we want to run to test the hack is xscreensaver-settings since it will show a preview of the glscreensaver module.
cd driver
./xscreensaver-settings
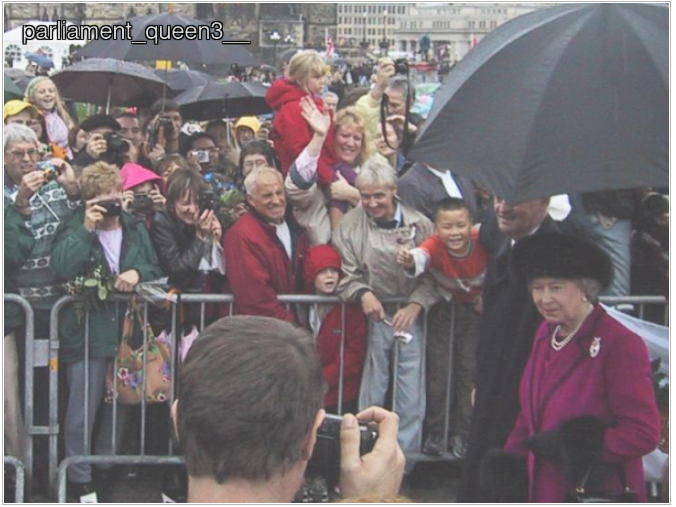
Looking at the name of the photo...

Success!
As you can see now the full path of the file name can be seen, and the year the photo can easily be determined.
Hacking can be fun
This is one of the easier hacks. After all, only two lines were commented out. But now I have a customized version of xscreensaver which does exactly what I want.
The beauty of open source is that it is open. Code doesn't have to a mysterious blob that runs on your computer. But rather, you have the power to modify and customize it for your specific needs. And if the modification is good enough to share with others, make sure you follow the GPL or other licensing and publish your changes.
Additional Info: * xscreensaver web site
15 January 2022